Choosing the right camera can feel confusing. There are so many types, brands, and features that it’s easy to get overwhelmed. But it doesn’t have to be complicated. Whether you want to take beautiful vacation photos, start a photography hobby, or go professional, this guide will help you make the right choice step by step.
Step 1: Decide What You’ll Use the Camera For
The first step is to think about how you plan to use your camera. Different cameras are better for different purposes.
-
Casual photography – If you just want to take photos for memories, trips, or social media, a small point-and-shoot or even a smartphone camera might be enough.
-
Hobby photography – If you enjoy photography and want more control, a mirrorless or DSLR camera is a good choice.
-
Professional work – For weddings, events, or commercial work, you’ll need a camera with high image quality, interchangeable lenses, and advanced features.
-
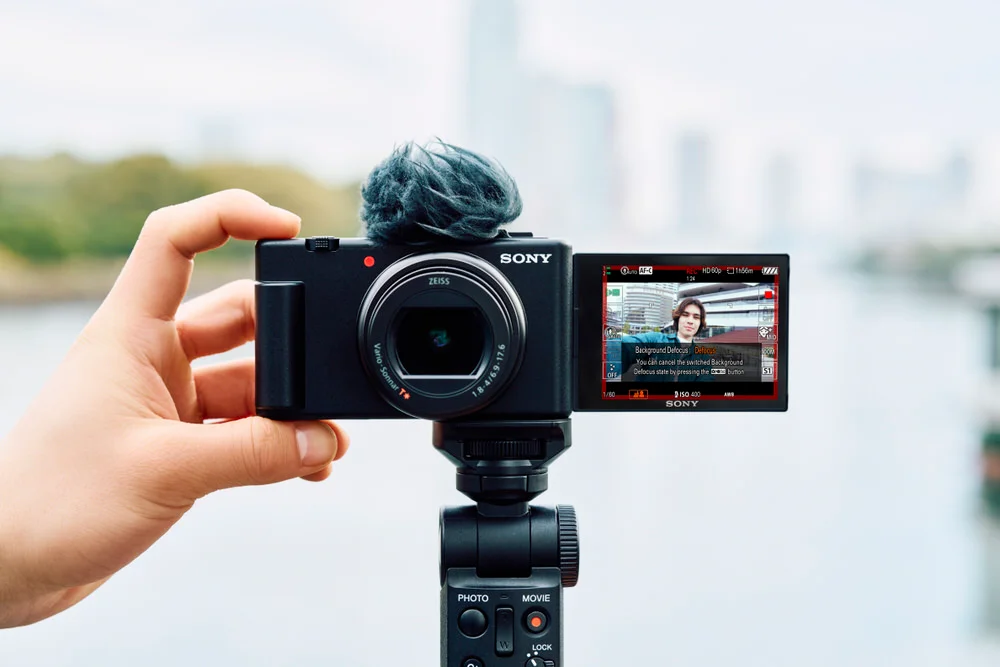
Video creation – If you want to make videos, consider a camera that records in high resolution (like 4K) and has good audio options.
Knowing your purpose helps you narrow down your options before looking at brands or prices.
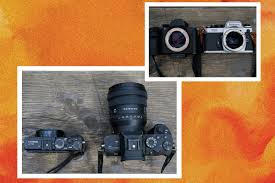
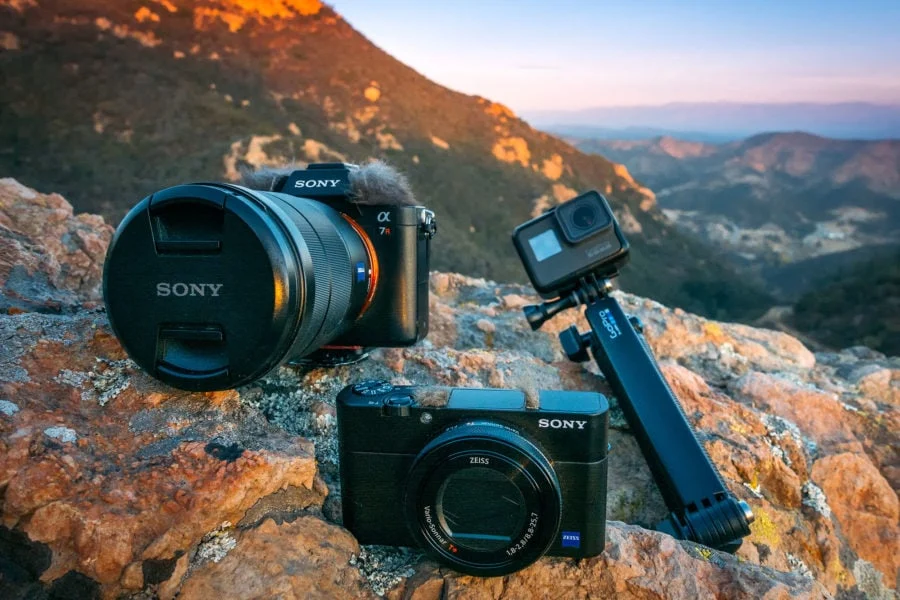
Step 2: Choose the Camera Type
There are several main types of cameras. Each has its strengths and weaknesses.
1. Smartphone Cameras
-
Pros: Easy to carry, convenient, good for casual photos, many apps for editing.
-
Cons: Limited zoom and control, smaller sensor, less flexibility in low light.
2. Point-and-Shoot Cameras
-
Pros: Compact, easy to use, decent image quality, affordable.
-
Cons: Limited control over settings, not as flexible as bigger cameras.
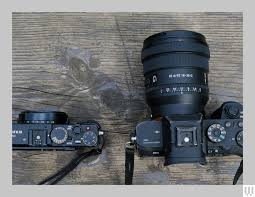
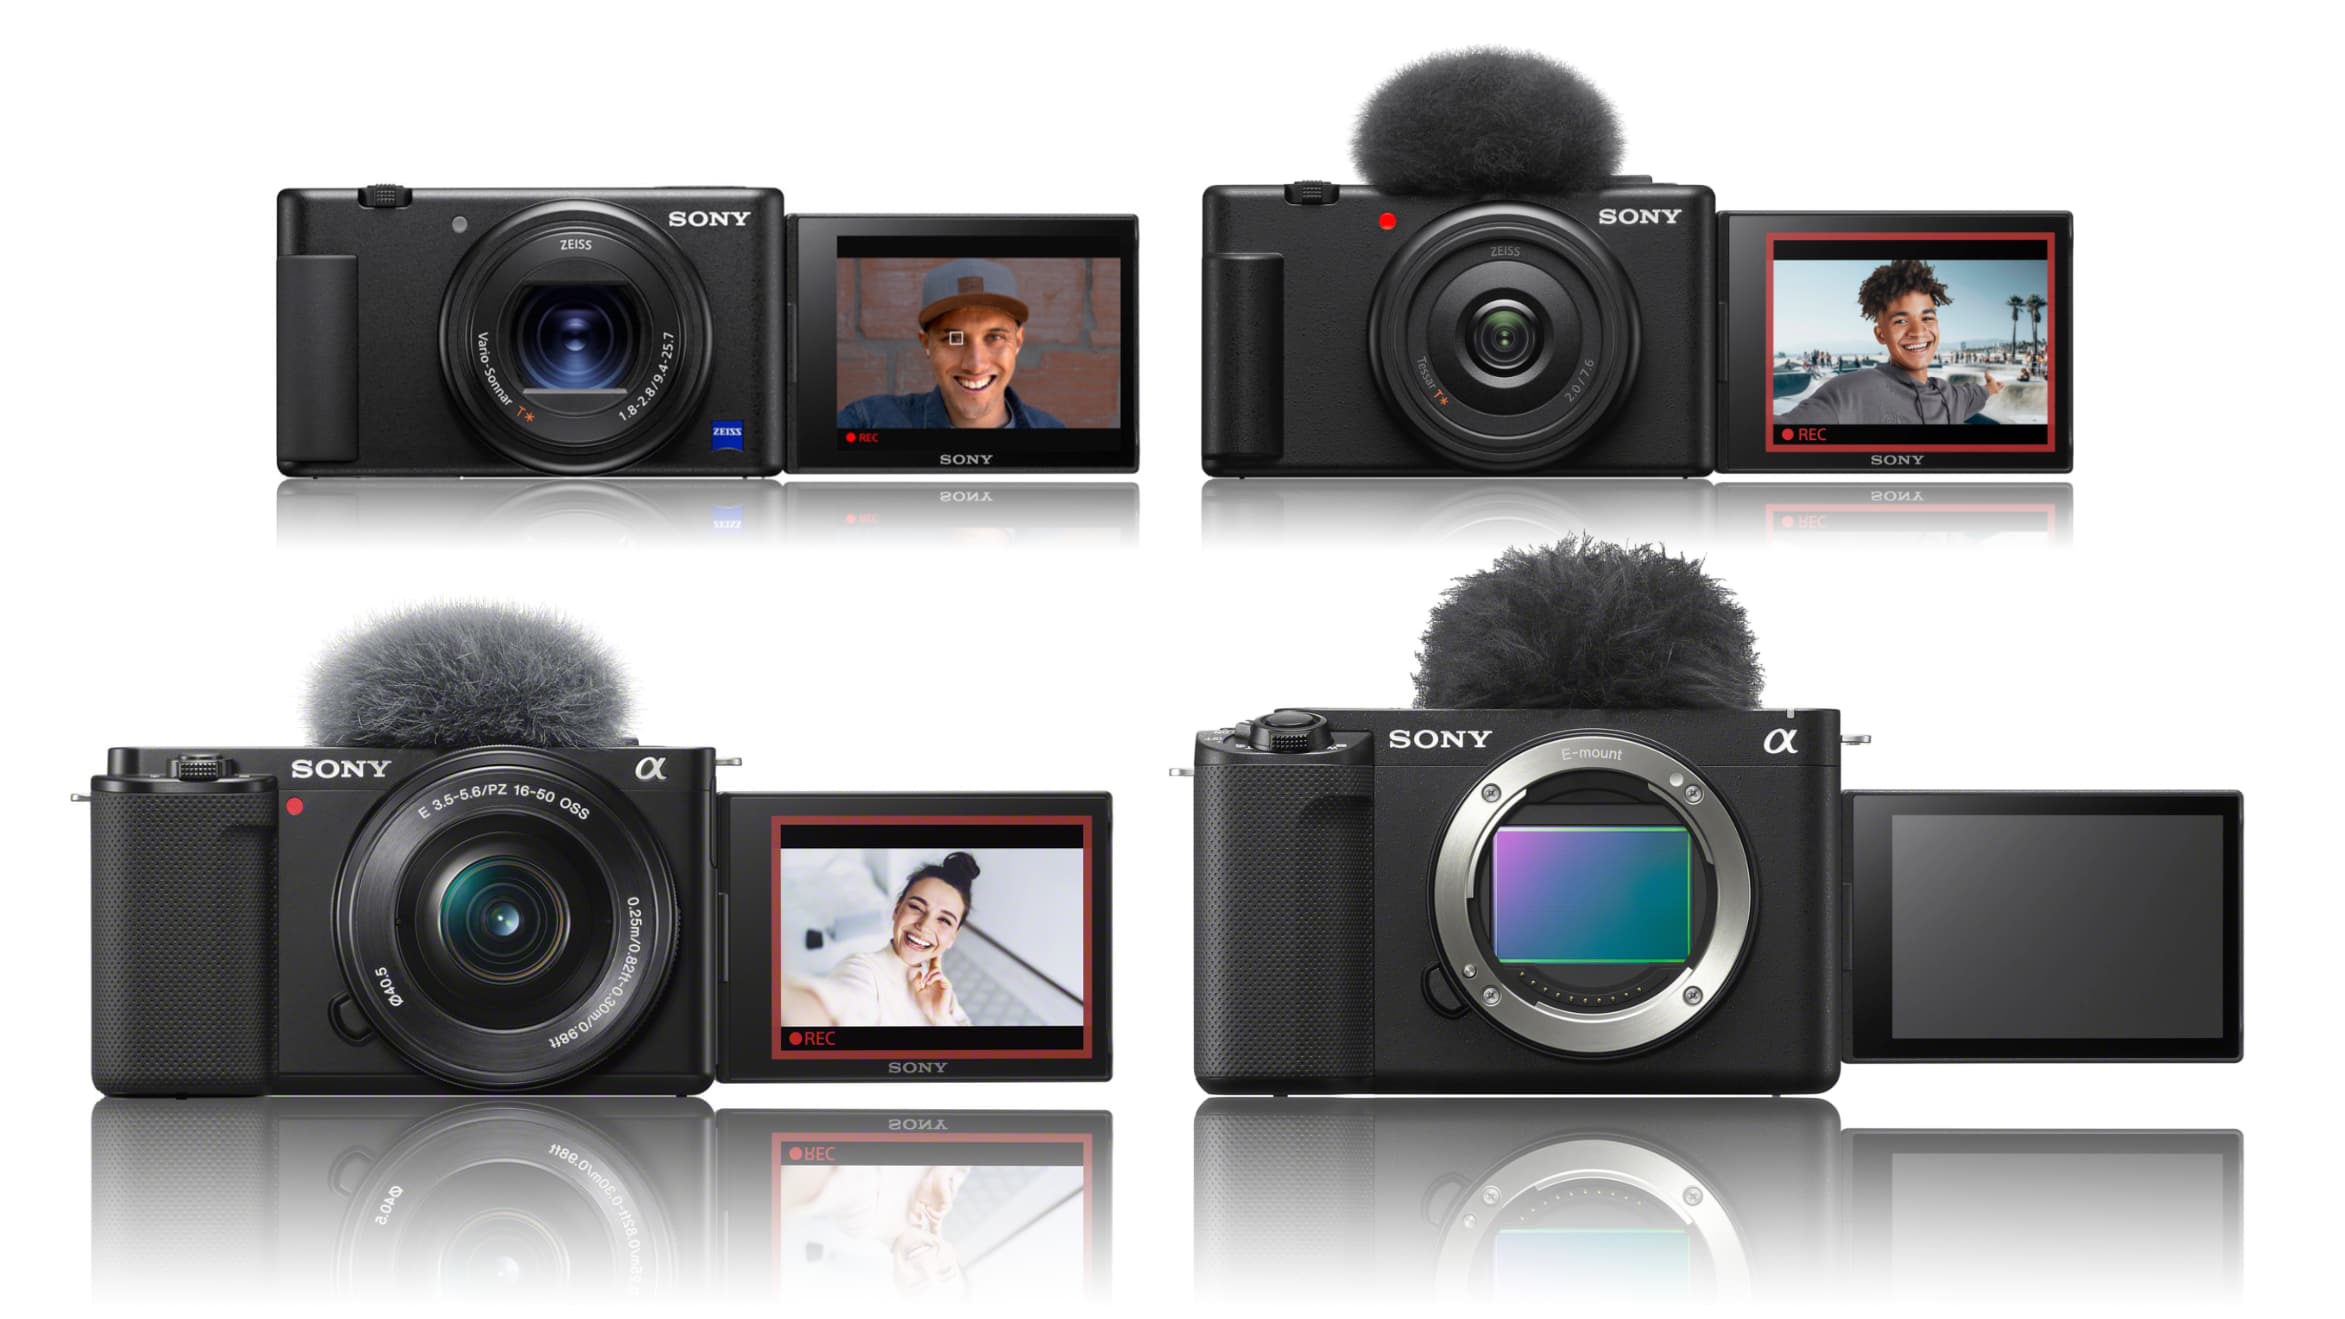
3. Mirrorless Cameras
-
Pros: Lightweight, interchangeable lenses, high image quality, great for both photos and videos.
-
Cons: Can be expensive, shorter battery life than DSLRs.
4. DSLR Cameras
-
Pros: Excellent image quality, long battery life, great lens selection, professional control.
-
Cons: Heavy, bulky, learning curve for beginners, more expensive.
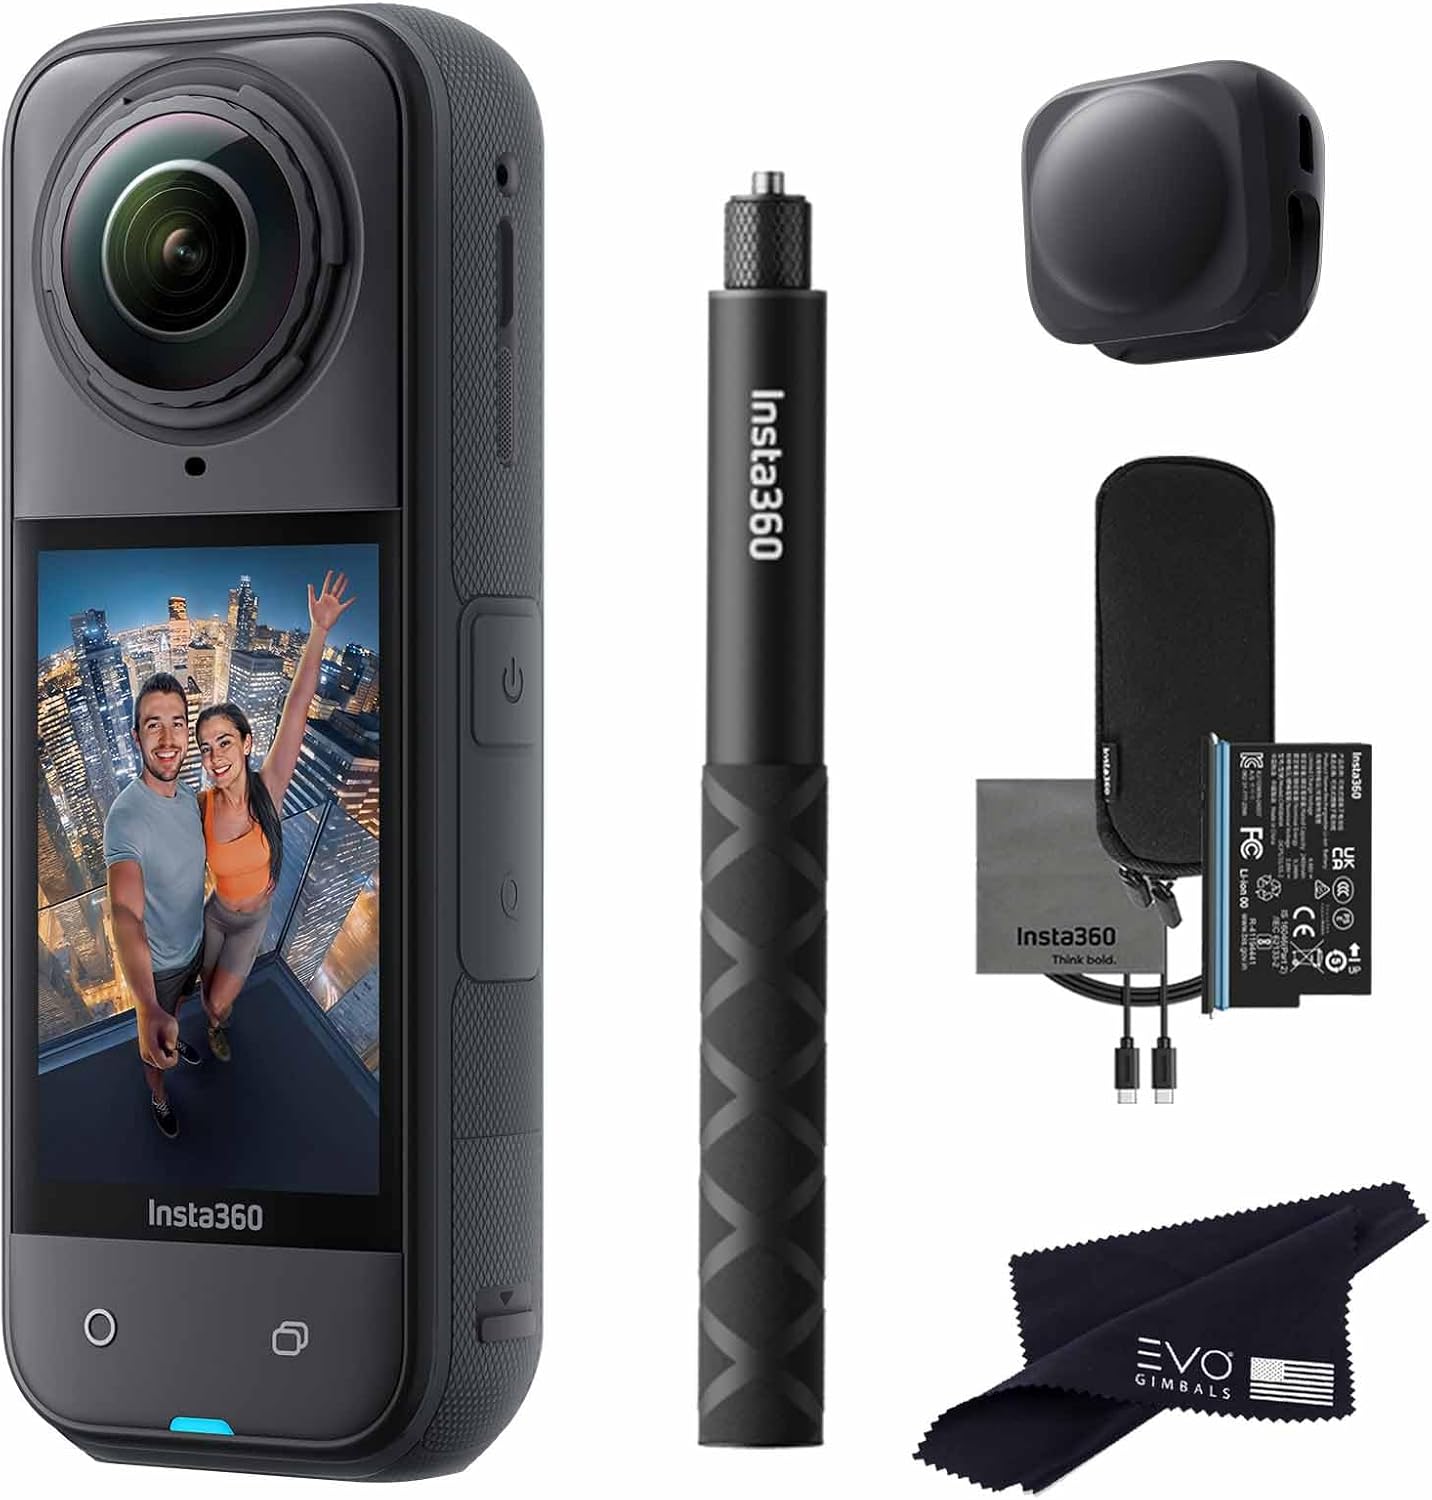
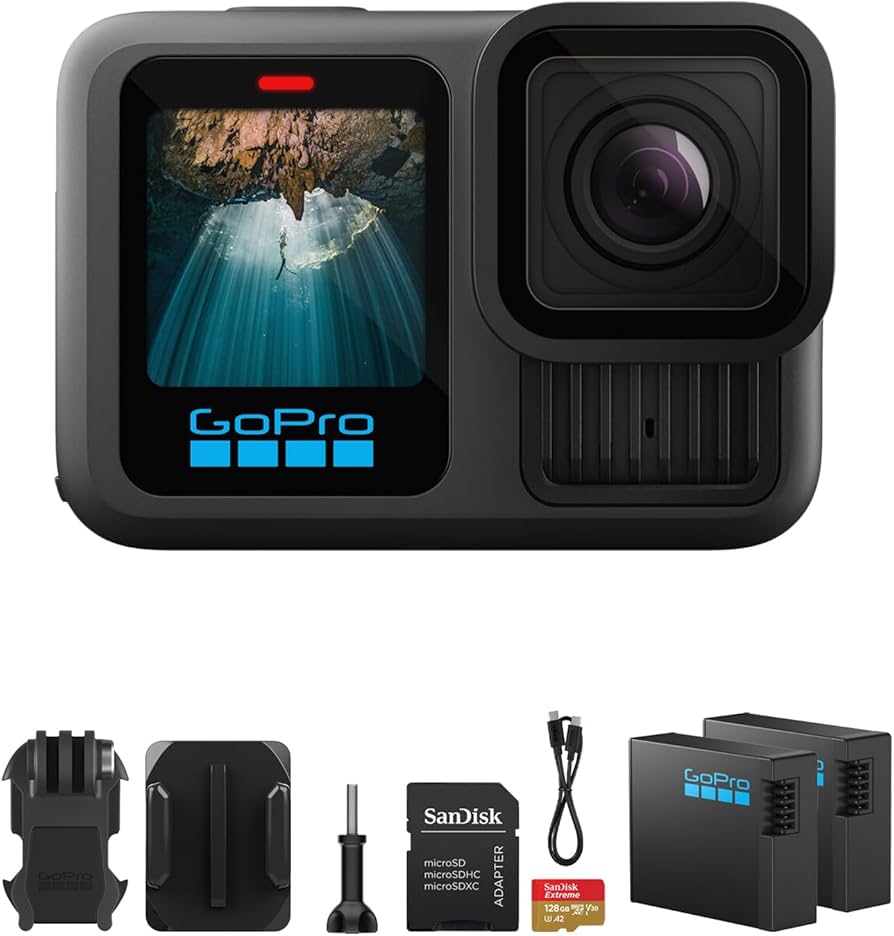
5. Action Cameras
-
Pros: Small, rugged, waterproof, great for adventure or sports.
-
Cons: Limited zoom, smaller sensors, not ideal for studio photography.
Choose a camera type based on your needs and how much portability or control you want.
Step 3: Consider the Sensor Size
The sensor is the part of the camera that captures light. Bigger sensors usually mean better image quality, especially in low light.
-
Full-frame sensors – High image quality, great for professionals, expensive.
-
APS-C sensors – Mid-range, good for hobbyists and beginners, smaller and lighter than full-frame.
-
Micro Four Thirds – Smaller sensor, compact camera system, great for travel.
-
Compact camera sensors – Small, used in point-and-shoot and smartphones, less flexible in low light.
If you want sharp, professional-looking photos, sensor size matters. For casual photography, even a smartphone sensor can be enough.
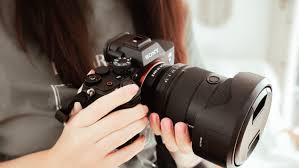
Step 4: Check the Lens Options
Some cameras come with fixed lenses (you cannot change them), while others have interchangeable lenses. Lenses are as important as the camera body because they determine how your photos look.
-
Fixed lens cameras – Good for beginners and casual photography.
-
Interchangeable lenses – Essential for hobbyists and professionals. You can choose wide-angle, telephoto, or macro lenses based on your photography style.
Think about whether you want the flexibility to change lenses now or in the future.
How to Pick the Right Camera: Tips for Every Photographer
Step 5: Understand Key Features
Cameras have many features, but some are more important than others depending on your needs.
-
Megapixels – Higher megapixels mean more detail, but after a certain point, it doesn’t make a big difference for prints or social media.
-
Autofocus – Fast and accurate autofocus is important for moving subjects or action shots.
-
Image stabilization – Helps reduce blur from shaky hands, especially useful for low light or video.
-
Low-light performance – Look at ISO range; higher ISO allows better photos in dark settings.
-
Video capabilities – If you plan to shoot videos, check resolution (1080p, 4K) and frame rates.
-
Connectivity – Wi-Fi or Bluetooth allows easy sharing of photos to your phone or cloud.
Prioritize features based on what matters most to you instead of chasing every new function.
Step 6: Consider Size and Portability
How you carry your camera affects how often you use it.
-
Compact cameras – Easy to carry in pockets or small bags, great for travel.
-
Mirrorless cameras – Lighter than DSLRs, still powerful, easy to take everywhere.
-
DSLR cameras – Bulky but stable and professional, better for planned shoots.
Think about whether you want a camera that’s always with you or one that stays at home and is used for special occasions.
Step 7: Set Your Budget
Cameras come in a wide price range, so setting a budget is important. Remember, you also need accessories like memory cards, extra batteries, and sometimes lenses.
-
Entry-level – Affordable, good for beginners, basic features.
-
Mid-range – Better image quality, more control, some interchangeable lenses.
-
High-end/professional – Excellent image quality, full control, expensive, needs extra lenses.
Decide how much you’re willing to spend and find the best camera within that range.
Step 8: Try Before You Buy
If possible, try handling cameras in a store. Comfort and ease of use are important.
-
Check the grip – Does it feel good in your hands?
-
Test menus and buttons – Are settings easy to navigate?
-
Try taking sample photos – See if the autofocus and image quality meet your needs.
-
Check weight and size – Make sure you can carry it comfortably.
A camera that feels awkward to use will end up sitting on a shelf, no matter how good it is.

How to Pick the Right Camera: Tips for Every Photographer
Step 9: Read Reviews and Watch Tutorials
Before buying, read online reviews or watch video tutorials. Real users share pros, cons, and tips you won’t find in product descriptions.
-
Photography forums – Ask experienced users about their opinions.
-
YouTube reviews – See sample images and real-life use.
-
Comparison articles – Check how different cameras perform side by side.
Doing research helps avoid buyer’s remorse and ensures you get the camera that fits your needs.
Step 10: Don’t Forget Accessories
Accessories can make your camera experience better and more enjoyable.
-
Memory cards – Always have one or two extra cards.
-
Extra batteries – Some cameras use battery fast, especially mirrorless and DSLRs.
-
Camera bag – Protects your camera while traveling.
-
Tripod – Useful for low-light shots, videos, or landscapes.
-
Cleaning kit – Keep lenses and sensors clean for sharp images.
Even a small accessory like a strap or lens cap can improve your shooting experience.
Step 11: Think About Future Growth
Your first camera doesn’t have to be the last, but think about your growth as a photographer.
-
Expandable systems – Mirrorless and DSLR cameras allow adding lenses and accessories as you improve.
-
Budget for upgrades – A camera that meets your needs now but allows future upgrades is a smart investment.
-
Learn along the way – Focus on practicing and understanding photography fundamentals, not just gear.
A camera that grows with you can last for years and give you better results over time.
Step 12: Start Shooting and Experiment
Once you’ve chosen your camera, the most important step is to start taking photos. Practice is what really makes you better, not just the camera.
-
Take daily photos – Even small practice sessions improve skills.
-
Try different settings – Learn ISO, shutter speed, aperture, and composition.
-
Experiment with light – Natural light, shadows, and night shots teach a lot.
-
Review and learn – Look at your photos, identify what works, and improve gradually.
Photography is about creativity and observation, not just gear. Use your camera to explore, experiment, and enjoy the process.
How to Pick the Right Camera: Tips for Every Photographer
Step 13: Keep Learning and Improving
Photography is a journey. The more you learn, the more you enjoy it.
-
Take online courses – Many free and paid resources teach photography basics and advanced skills.
-
Follow photographers – See what professionals are doing and get inspired.
-
Join local clubs or groups – Share your photos and get constructive feedback.
-
Practice patience – Good photos often take time, experimentation, and patience.
The camera is just a tool — your creativity and practice make the real difference.
Conclusion
Choosing the right camera doesn’t have to be overwhelming. By following these steps:
-
Know your purpose
-
Choose the right type
-
Consider sensor size
-
Look at lens options
-
Focus on key features
-
Think about size and portability
-
Set a budget
-
Try before buying
-
Read reviews
-
Get the right accessories
-
Plan for future growth
-
Start shooting
-
Keep learning
…you can find a camera that fits your needs and helps you capture beautiful moments.
Remember, the best camera is the one you use. Practice, experiment, and enjoy photography, and you’ll see that the right camera helps you tell your story through images.
Read Also: Keep your face towards the sunshine and shadows will fall behind you
Watch Also: https://www.youtube.com/@TravelsofTheWorld24
Leave a Reply