For many home cooks, making jam sounds intimidating—visions of complicated canning processes, specialized equipment, and hours spent hovering over a bubbling pot often scare people away. In reality, jam-making is one of the simplest and most forgiving kitchen projects you can try. With just a few ingredients, minimal tools, and a little patience, you can make delicious homemade jam that tastes far better than most store-bought versions.
This guide breaks down why jam is easy, approachable, and low-effort, offering step-by-step guidance, tips, and reassurance for beginners who think jam-making is more complicated than it actually is.
1. Why Jam-Making Has an Unfair Reputation
Jam has long been associated with old-fashioned kitchens and long canning days, which has given it a reputation for being difficult. Common fears include:
-
Needing special jars and canning equipment
-
Risk of spoilage or food safety issues
-
Complicated measurements and timing
-
Fear of ending up with runny or rock-hard jam
The truth is that modern jam-making can be incredibly simple, especially if you’re making small batches meant to be enjoyed right away.
2. What Jam Really Is (In Simple Terms)
At its core, jam is just:
-
Fruit
-
Sugar
-
Heat
That’s it.
When fruit is heated with sugar, it naturally thickens as water evaporates and pectin (a natural substance found in fruit) activates. No chemistry degree required—just a pot, a spoon, and a stove.
3. You Don’t Need Fancy Equipment
One of the biggest misconceptions is that jam requires specialized tools. In reality, all you need is:
-
A saucepan or pot
-
A spoon or spatula
-
A knife and cutting board
-
Clean jars or containers
No canner, thermometer, or special strainer is required for beginner or refrigerator jams.
4. Small-Batch Jam Is the Secret to Stress-Free Success
Instead of making gallons of jam, start small:
-
Use 2–4 cups of fruit
-
Makes 1–2 jars
-
Takes about 30 minutes total
Small-batch jam cooks faster, is easier to control, and is nearly impossible to mess up. If something goes wrong, you’ve lost very little—and you’ve gained experience.
5. The Easiest Jam Formula (Remember This)
If you remember nothing else, remember this basic ratio:
Fruit + Sugar + Heat = Jam
A beginner-friendly guideline:
-
2 cups chopped fruit
-
¾ to 1 cup sugar (adjust to taste)
-
Optional splash of lemon juice
That’s all you need to get started.
6. Step-by-Step: The Simplest Jam Method
Step 1: Prep the fruit
Wash, pit, peel, or chop as needed. No need for perfection—rustic is fine.
Step 2: Combine fruit and sugar
Add both to a saucepan and stir.
Step 3: Cook
Bring to a gentle boil, then simmer. Stir occasionally.
Step 4: Mash if desired
Use a spoon or potato masher to control texture.
Step 5: Check thickness
After 15–25 minutes, the mixture will thicken naturally.
Step 6: Cool and store
Transfer to jars, cool, and refrigerate.
That’s it. You’ve made jam.
7. No Pectin? No Problem
Many beginners panic about pectin. Here’s the good news:
-
Most fruits already contain natural pectin
-
You don’t need commercial pectin for small batches
-
Longer cooking = thicker jam
Fruits high in natural pectin include apples, citrus, berries, and plums.
8. Fixing Common “Mistakes” (They’re Not Failures)
Jam too runny?
Cook it a bit longer or enjoy it as syrup.
Jam too thick?
Stir in a spoonful of water or juice.
Too sweet?
Add lemon juice to balance flavors.
Burned a little?
Transfer to a new pot and avoid scraping the bottom.
Jam is forgiving—almost everything is fixable.
9. Refrigerator Jam Is Perfect for Beginners
You don’t have to can jam to enjoy it. Refrigerator jam:
-
Keeps 2–4 weeks
-
Requires zero special equipment
-
Is safer and simpler for beginners
-
Tastes just as good
Once you’re confident, you can explore shelf-stable canning—but it’s not required.
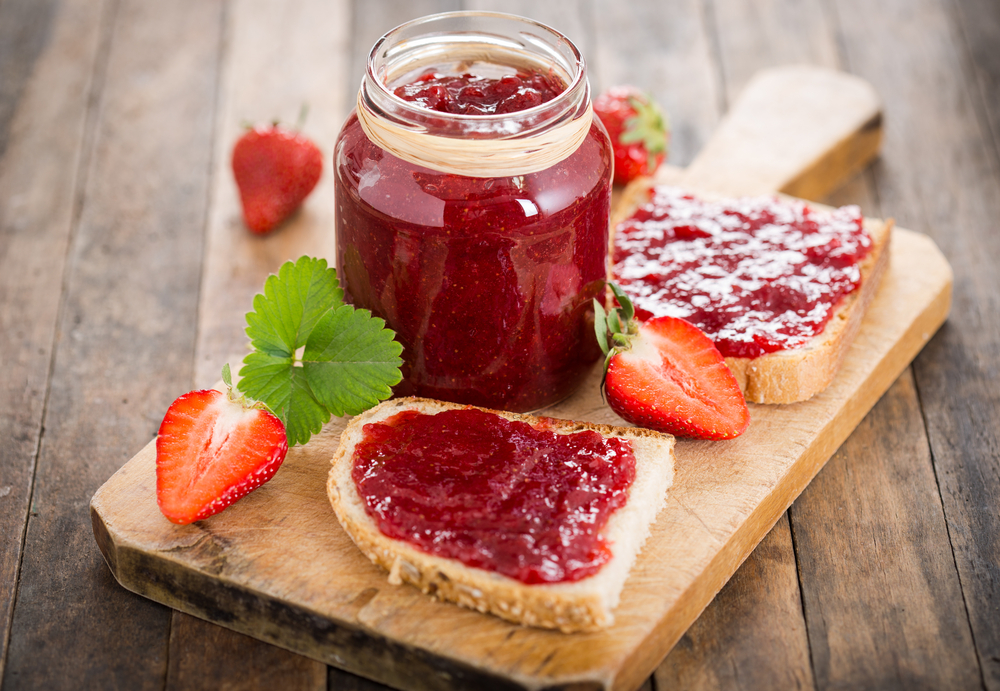
10. The Best Fruits for First-Time Jam Makers
Some fruits are especially beginner-friendly:
-
Strawberries
-
Blueberries
-
Raspberries
-
Peaches
-
Mangoes
-
Apples
They cook evenly, thicken naturally, and taste great even with minimal sugar.
11. Jam Is Cheaper Than You Think
Homemade jam often costs less than premium store-bought jars:
-
Use seasonal or overripe fruit
-
Control sugar and flavor
-
No preservatives or fillers
You also avoid wasting fruit that might otherwise go bad.
12. Flavor Combinations That Feel Fancy (But Aren’t)
Want to impress without extra work?
-
Strawberry + vanilla
-
Peach + cinnamon
-
Blueberry + lemon zest
-
Mango + lime
-
Apple + ginger
Just one extra ingredient can elevate your jam with almost no added effort.
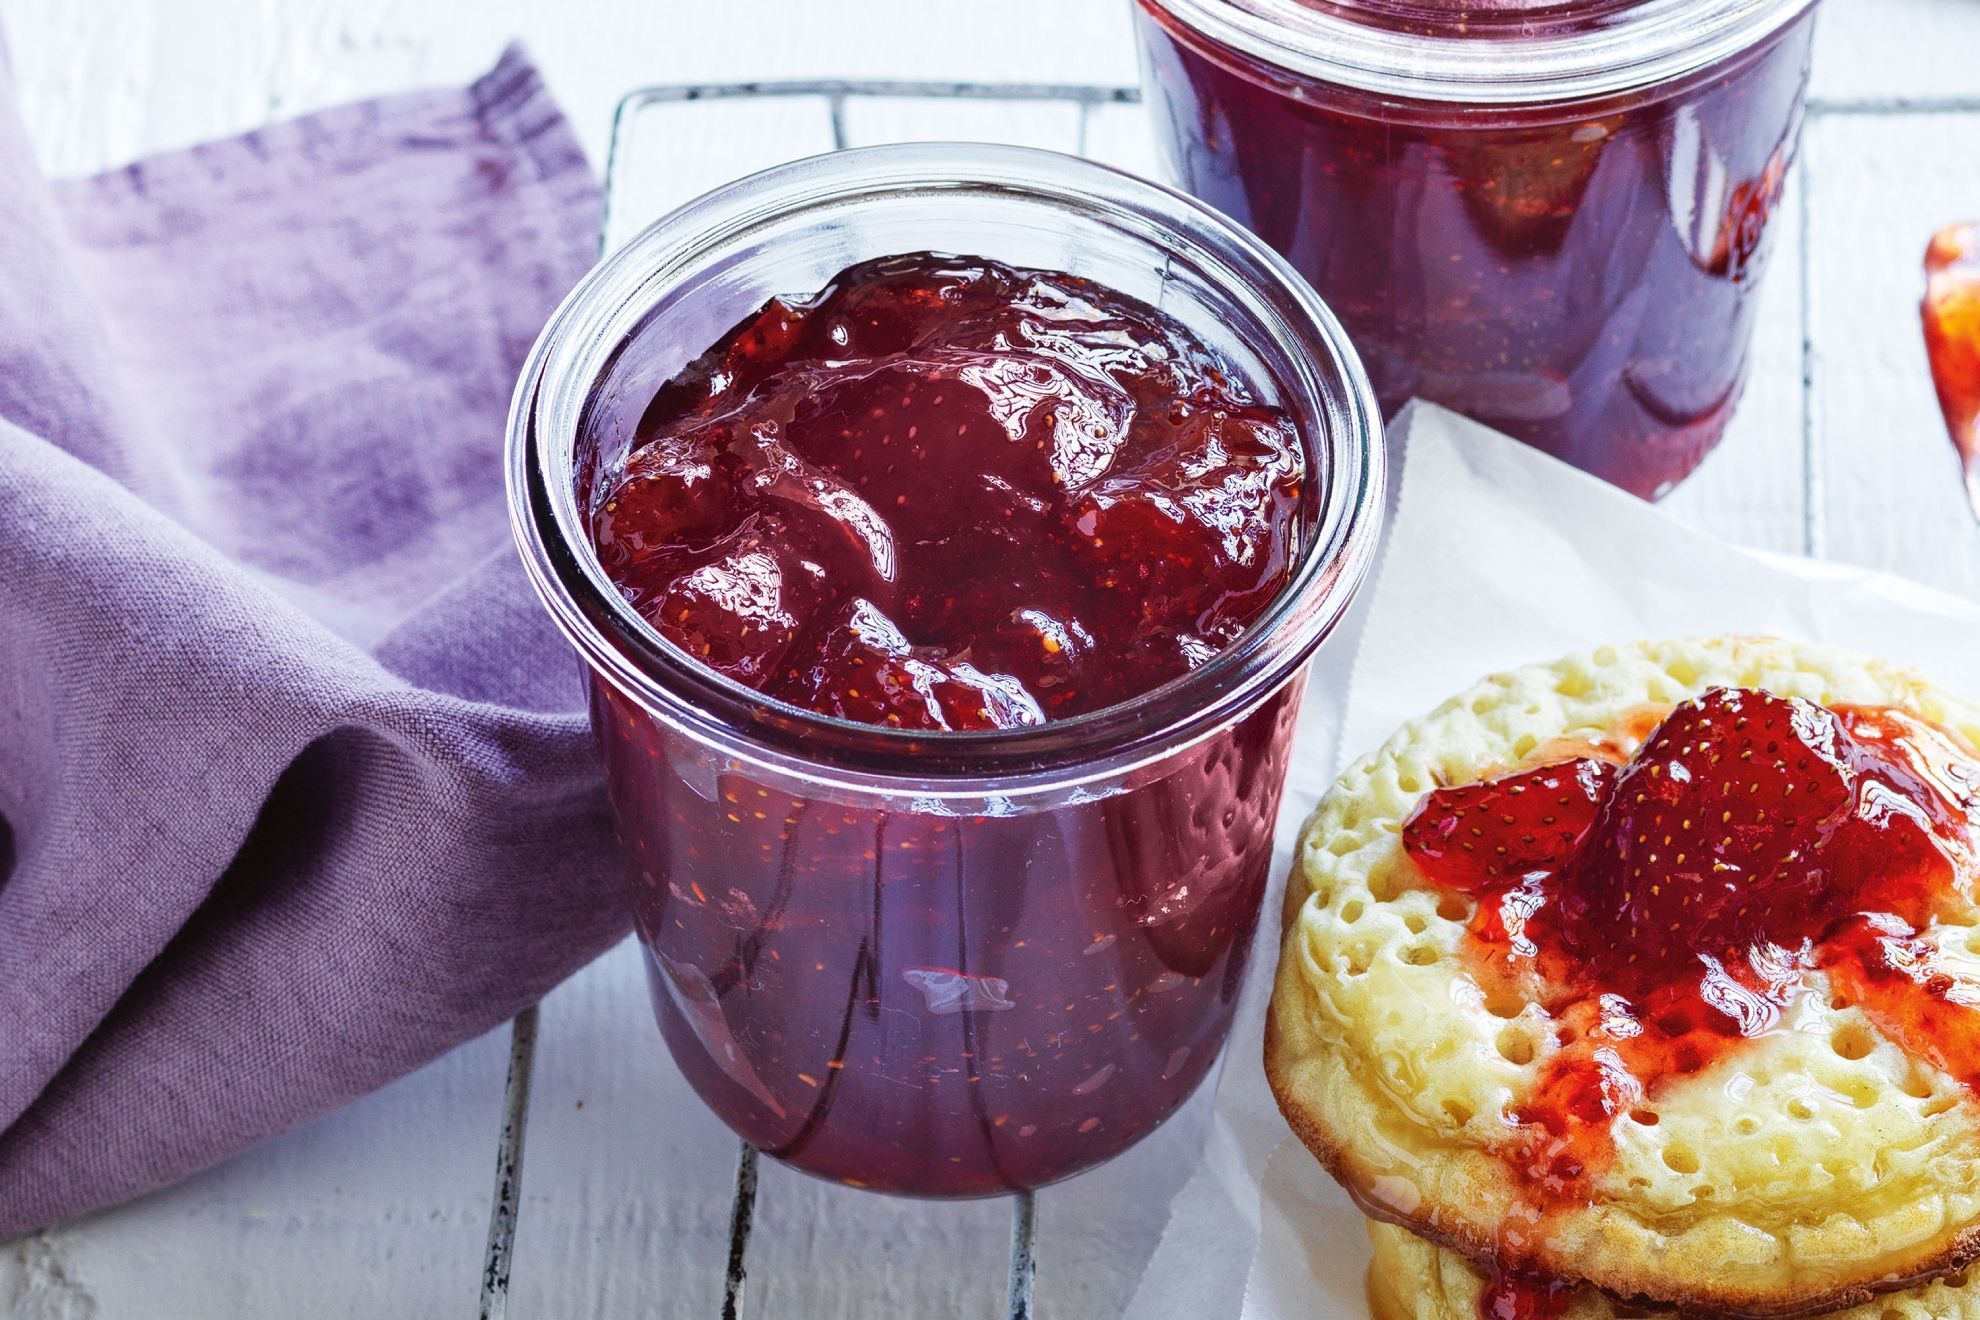
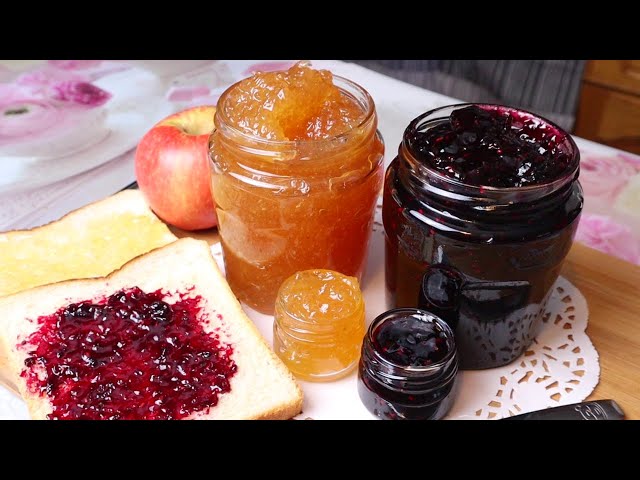
13. Jam Is More Than Toast
Once you’ve made jam, you’ll find endless uses:
-
Swirl into yogurt or oatmeal
-
Spoon over pancakes and waffles
-
Use as cake filling
-
Pair with cheese boards
-
Glaze meats or roasted vegetables
Jam becomes a kitchen multitasker, not just a breakfast spread.
14. Kids Can Help, Too
Jam-making is a great family activity:
-
Washing and chopping fruit
-
Stirring (with supervision)
-
Tasting and choosing flavors
-
Labeling jars
It’s a fun, low-pressure way to introduce kids to cooking.
15. Why Homemade Jam Tastes Better
Homemade jam wins because:
-
Fresher fruit flavor
-
Custom sweetness
-
No artificial additives
-
Texture you control
Once you taste it, store-bought jam often feels overly sweet or flat.
16. Jam-Making Builds Kitchen Confidence
Making jam teaches essential cooking skills:
-
Heat control
-
Flavor balancing
-
Texture awareness
-
Patience and timing
These skills transfer to sauces, soups, and desserts, making jam a confidence-boosting project.
17. You’re Allowed to Keep It Casual
Jam doesn’t need to be perfect:
-
Uneven texture is fine
-
Cloudy color is fine
-
Imperfect jars are fine
Homemade means human—and that’s part of the charm.
18. The Joy of Slowing Down
Jam-making encourages you to:
-
Work with your hands
-
Smell fruit as it cooks
-
Enjoy the process, not rush it
It’s a calming, grounding kitchen ritual, even if it only takes 20 minutes.
19. Once You Start, You’ll Wonder Why You Waited
Most first-time jam makers say the same thing:
“That’s it? I thought it would be harder.”
Because it’s easy. Because it’s forgiving. And because it’s one of the most rewarding low-effort cooking projects you can do.
20. Conclusion
Making jam is not scary, complicated, or high-stress. It’s a simple process built on basic ingredients and common sense. You don’t need special equipment, expert skills, or hours of free time—just fruit, sugar, and a little heat.
Key takeaways:
-
Start small and keep it simple
-
Refrigerator jam is perfect for beginners
-
Mistakes are easy to fix
-
Homemade jam tastes better and costs less
So if you’ve ever hesitated to make jam, consider this your sign. Grab some fruit, grab a pot, and start cooking. You’ll quickly discover that jam-making is a low-effort joy—and there’s truly nothing to be scared of.
Read Also: Keep your face towards the sunshine and shadows will fall behind you
Watch Also: https://www.youtube.com/@TravelsofTheWorld24


Leave a Reply